 A Missouri cave orchid experiences its first natural sun light.
 The yellow cast to all my pictures came from the sodium lamps in the cave.
 So I changed them to B/W to get a better idea of what the growing space looked like
 Bench after bench of amazing Phalaenopsis orchids
 Just look at the number of bloom spikes on this bench
 Whole rooms of beautiful blooming orchids all in a cave.
 This is truly an amazing growing space.
 I use a very porous mix.
 Many choices here.
 I do not use a rooting compound on these as they have roots ready to grow.
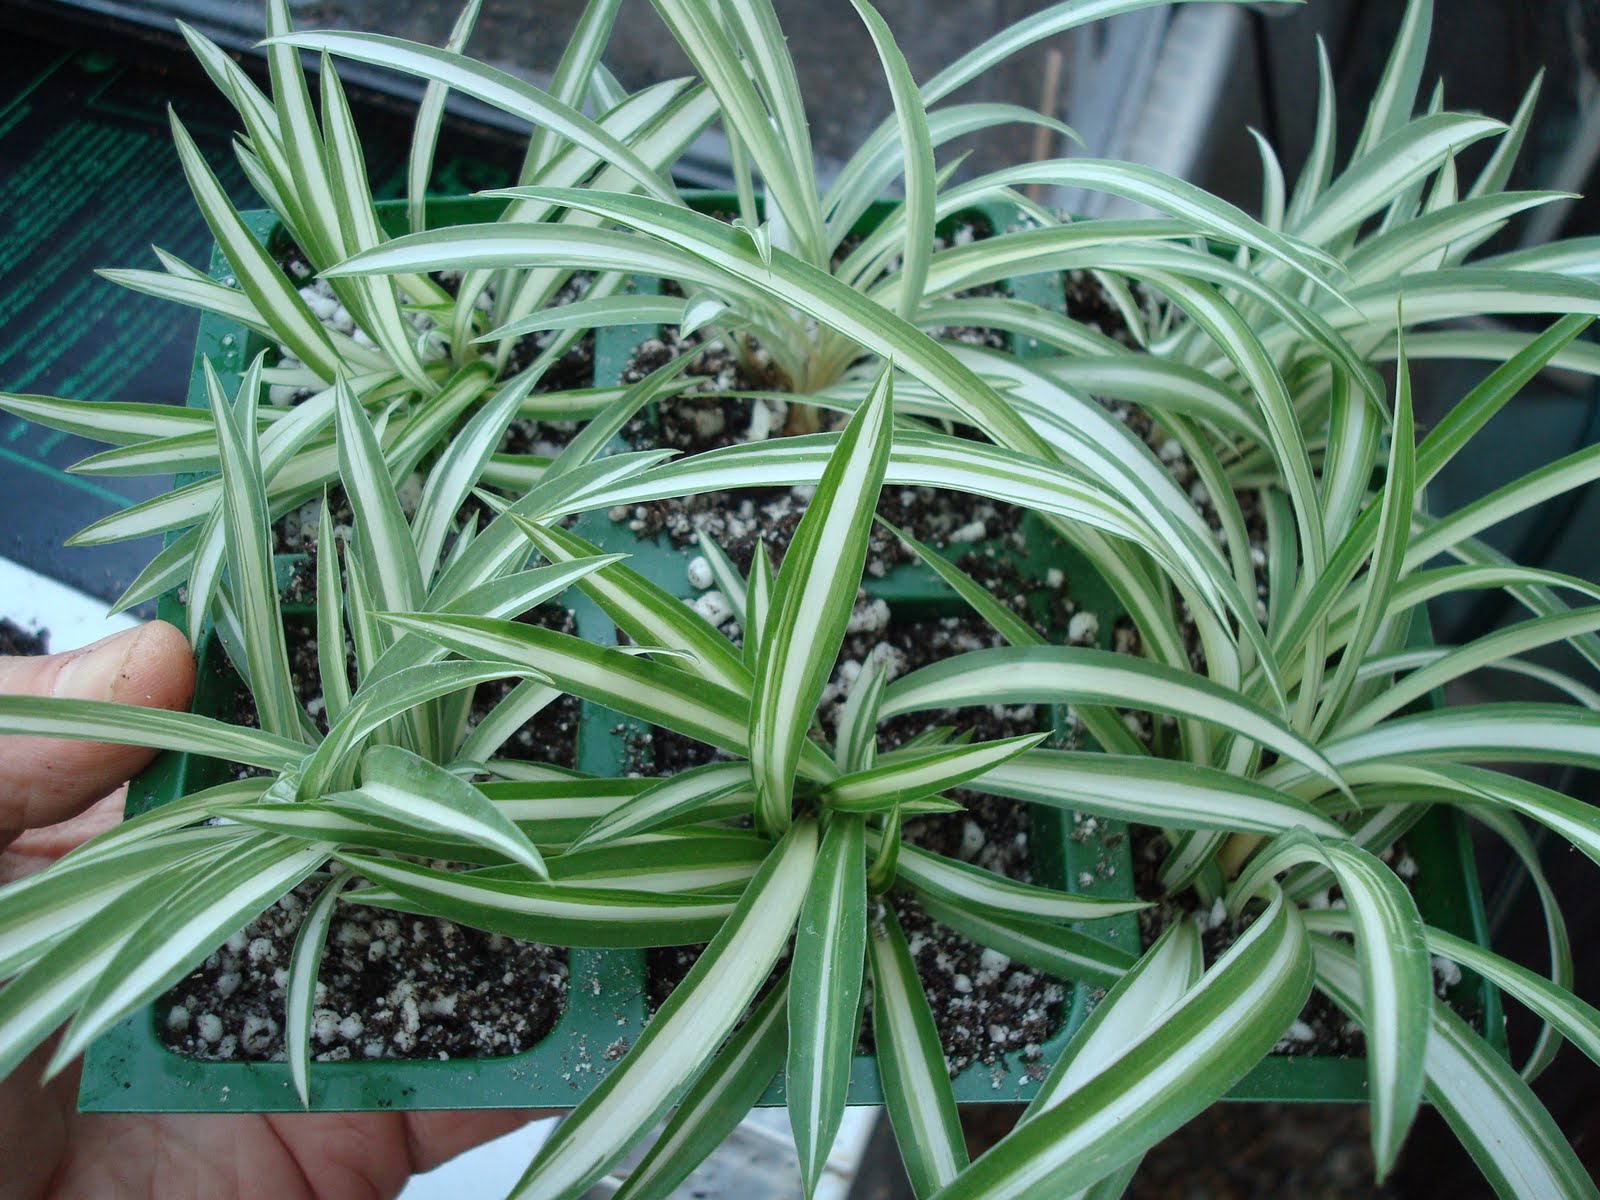 A complete six-pack.
 Make your cut at the leaf node for the best rooting
 Dust with a rooting compound.
 Stick the cutting - these go into a dry mix then I add the water
 Finished cutting ready to go into a humid warm propagation chamber.
Last week we were in Kansas City Missouri. We had thought that we would be in full spring but not with over seven inches of snow on the ground at our arrival. We enjoyed our brief visit, had some great BBQ, saw wonderful art at both of their museums (both free I would like to add) and found the most interesting orchid grower I have yet to meet.
David Bird of Bird's Botanicals has one of the most unique orchid growing environments I have ever experience. This orchid establishment is located in a naturally climate controlled cave where the orchids have a perfect growing environment. He has multiple lighted rooms in this former quarry cave that has more than 10,000 growing and blooming plants. We saw Phalaenopsis, Cattleya, Paphiopedilum, and other species and hybrids happily growing in these limestone caves under artificial light. Sorry, the pictures are so poor but I could not figure out how to get the camera to take better pictures with the artificial lights. Never the less it was a fantastic sight and if you are ever in the area make a definite point to go see this grower. The cave is open on Tuesdays, just happened to be the day we went, but you could call to check - 816 252 4478 ( Thanks David, we really enjoyed your orchid cave)
I have started seeds and made cuttings. Marigolds, peppers, parsley, lettuce, and my dandelions were all planted. I am looking forward to the dandelions as my lunch salad at Lidia's of Kansas City was one made with dandelions ( excellent I might add). I have already run out of space on the heat mats so Monday I will try to buy a bigger and thermostatically controlled mat for starting seeds. Bottom heat is vital for some things and almost a requirement for pepper and tomatoes. If I get one we will keep you posted on its workings.
I also started the spring crop of spider (Chlorophytum comosum) plants and made my first geranium cuttings. Each year I start both of these from the previous years plants. The geraniums are a variety that I got many many years ago - I think more than 25! I have long ago lost the name and even though I saw that last summer I used a name I am not sure of - I am on the search to try to identify the variety and if I succeeded I will pass that information along. All I do know is that it is a miniature variety that blooms all summer long. They winter under the fluorescent lights in the basement and each spring I use them for my new plants.
The techniques are in the pictures above. I use a rooting compound and a porous mix of mostly perlite and some screened potting mix. The spider plants have vestigial roots ready to grown and I choose the "babies" with the most leaves and possible roots to put in the six pack.
The geraniums are cut at a leaf node and dipped in rooting compound and then stuck in the pots. I usually leave three or four leaves on these cuttings and both go under a plastic dome and on a heating mat for bottom heat. I keep them misted and shaded for at least a week. The spider plants will root much faster than the geraniums but both are ready when they resist a tug to try to pull them out of the mix. Once again bottom heat helps hurry those roots along. This is good practice for the tomato grafting that is scheduled for later this season. Stay with us for that adventure.
Happy Gardening
Naturally, such lighting installations are totally inappropriate for the normal domestic indoor orchid, but some of the lighting principles can be copied successfully. Here are 3 methods which are suitable for indoor orchids grown at home.
ReplyDeleteLighting Devices